
📁 Step 1: Clone the Template Repository Locally
NOTEI’m using a demo repository for this project called
fuwari-blog
git clone https://github.com/saicaca/fuwari.git📦 Step 2: Install Dependencies
Navigate into the project folder and install the dependencies:
cd fuwari
pnpm install
🛠️ Step 3: Build the Project
Once dependencies are installed, build the project:
pnpm buildNOTEWe need to build the project to identify the build folder name. I have already built the project and identified the build folder as
dist. The output folder Name is important forCI/CDdeployment.
📁 Step 4: Create a GitHub Repository with the Following Project File Structure
📁
├── .github/               # GitHub Actions CI/CD workflows
│   └── workflows/
│       └── main.yml       # CI/CD pipeline for deployment
├── .vscode/               # VS Code editor settings
├── public/                # Static assets (images, icons, favicon, etc.)
├── scripts/               # Custom CLI scripts (e.g., post creation)
├── src/                   # Main source directory
│   ├── components/        # Reusable UI components
│   ├── content/           # Blog content (posts, pages)
│   ├── layouts/           # Layout components for pages/posts
│   ├── pages/             # Astro routes (e.g., index, about, posts)
│   ├── styles/            # Tailwind and custom CSS/SCSS
│   ├── config.ts          # Site configuration (title, URL, metadata)
│   └── index.md           # Home page content or root content file
├── .gitattributes         # Git attributes for handling end-of-line configs
├── .gitignore             # Files/directories to ignore in Git
├── .npmrc                 # npm/pnpm registry and config
├── LICENSE                # Project license (MIT)
├── README.md              # Main README file (this one)
├── README.xx.md           # Translated README files (ja-JP, ko, es, zh-CN, th)
├── astro.config.mjs       # Astro project configuration
├── biome.json             # Linter/formatter config (Biome)
├── frontmatter.json       # Frontmatter schema definitions
├── package.json           # Project metadata and dependencies
├── pagefind.yml           # Pagefind (search) configuration
├── pnpm-lock.yaml         # Lockfile for pnpm
├── postcss.config.mjs     # PostCSS configuration
├── svelte.config.js       # Svelte config (if Svelte components used)
├── tailwind.config.cjs    # Tailwind CSS configuration
├── tsconfig.json          # TypeScript configuration
├── vercel.json            # Vercel deployment config
NOTEAll the project files are in the root of the GitHub repo, as shown. I have designed my action file for this project structure. If you plan to put files inside a subfolder, you need to change the GitHub action as needed.
Push your project to a new GitHub repository as shown in the file structure.
⚙️ Step 5: Set Up Cloudflare Pages
- Log in to your Cloudflare Dashboard
- Navigate to Pages → Click Create Project
- Select Direct Upload (we’ll automate with CI/CD)

- Download
Cloudfalre Pages Demoby pressing the button, give the project a name, and upload the downloaded demo zip from Cloudflare Temporary.
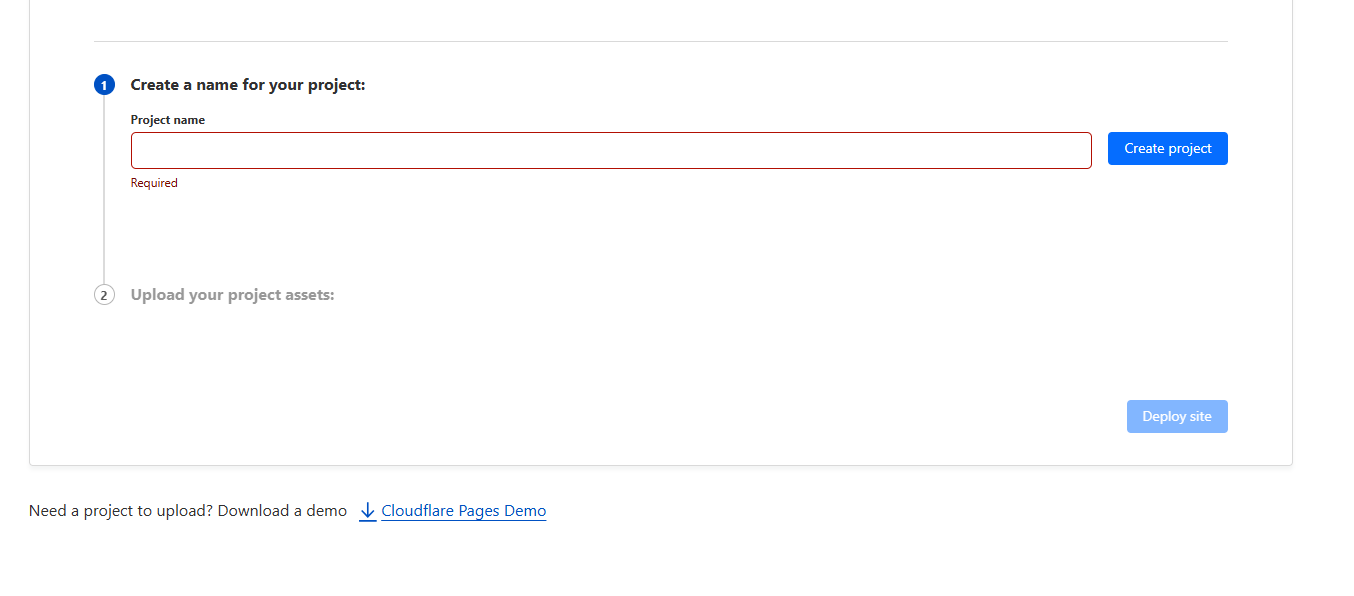
You can upload a .zip for testing, but GitHub Actions will handle deployment going forward.
⚙️ Step 6: GitHub Actions CI/CD Setup
Create the following file in your GitHub project:
📁 .github/workflows/main.yml
name: Main Deployment

on:
  push:
    branches: [main]
  workflow_dispatch:

env:
  PROJECT_NAME: itsnooblk-blog

jobs:
  Deploy:
    runs-on: ubuntu-latest

    steps:
      - uses: actions/checkout@v2

      - name: Set up Node.js
        uses: actions/setup-node@v2
        with:
          node-version: '20'

      - name: Install pnpm
        run: npm install -g pnpm

      - name: Install dependencies
        run: pnpm install --frozen-lockfile

      - name: Build project
        run: pnpm build

      - name: Deploy to Cloudflare Pages
        run: pnpm dlx wrangler pages deploy dist --project-name=${{ env.PROJECT_NAME }}
        env:
          CLOUDFLARE_API_TOKEN: ${{ secrets.PAGES_DEPLOY_API }}
          CLOUDFLARE_ACCOUNT_ID: ${{ secrets.PAGES_DEPLOY_ACCOUNT }}
variables :
node-version: '20'  : chnage to yournode version
PROJECT_NAME: itsnooblk-blog : your cloudflare project name
Replace itsnooblk-blog with your actual Cloudflare project name.
🔐 Step 7: Get Your Cloudflare API Credentials
- Go to: https://dash.cloudflare.com/profile/api-tokens
- Create a Custom API Token (recommended) or use your Global API Key
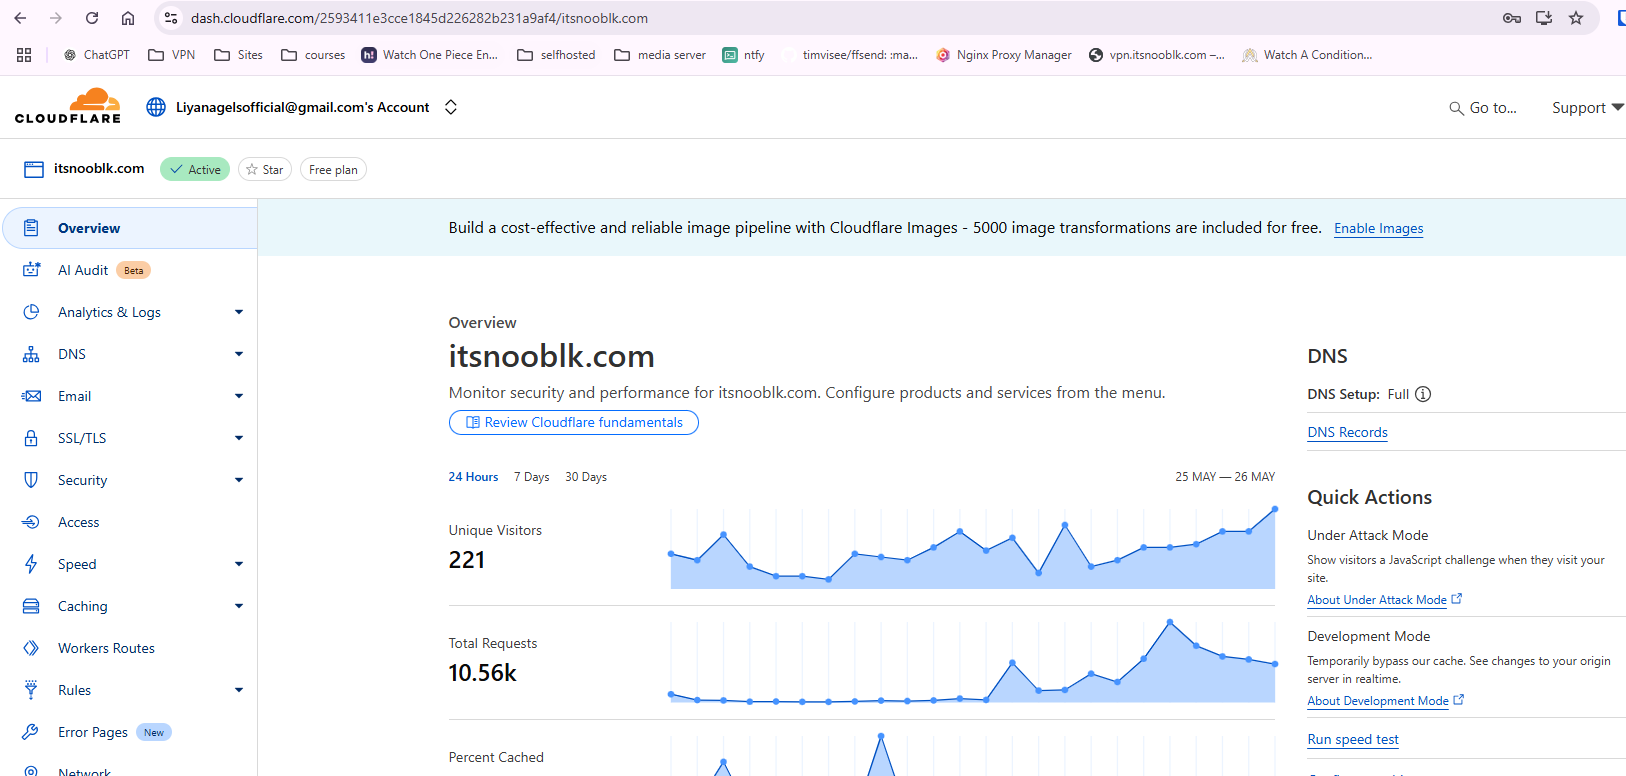
- Retrieve your Cloudflare Account ID from the URL:
🔍 Example
Go to your Cloudflare Dashboard → Domain, then copy the URL. It will look something like this:
https://dash.cloudflare.com/2593411e3cce1845dxxxx2b231a9af4/itsnooblk.comFrom this URL:
- Account ID:
2593411e3cce1845dxxxx2b231a9af4 - Domain:
itsnooblk.com
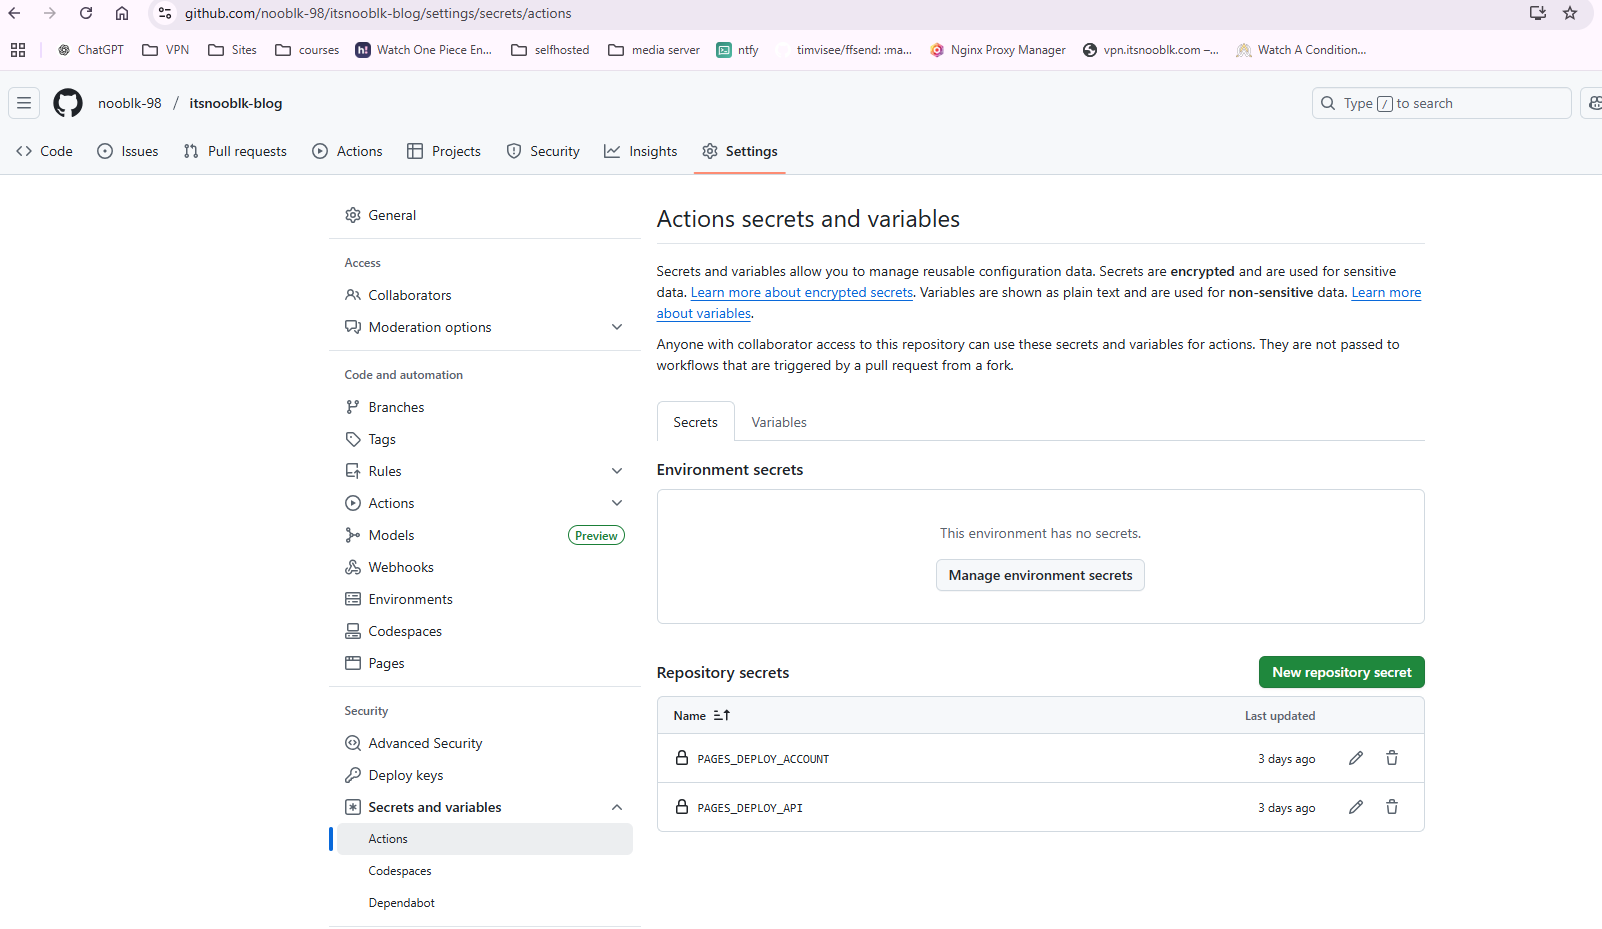
🔑 Step 8: Add GitHub Secrets
Navigate to your GitHub repository settings:
👉 https://github.com/<your-username>/<repo>/settings/secrets/actions
Add the following secrets:
| Secret Name | Value |
|---|---|
PAGES_DEPLOY_API | Your Cloudflare API Token |
PAGES_DEPLOY_ACCOUNT | Your Cloudflare Account ID |
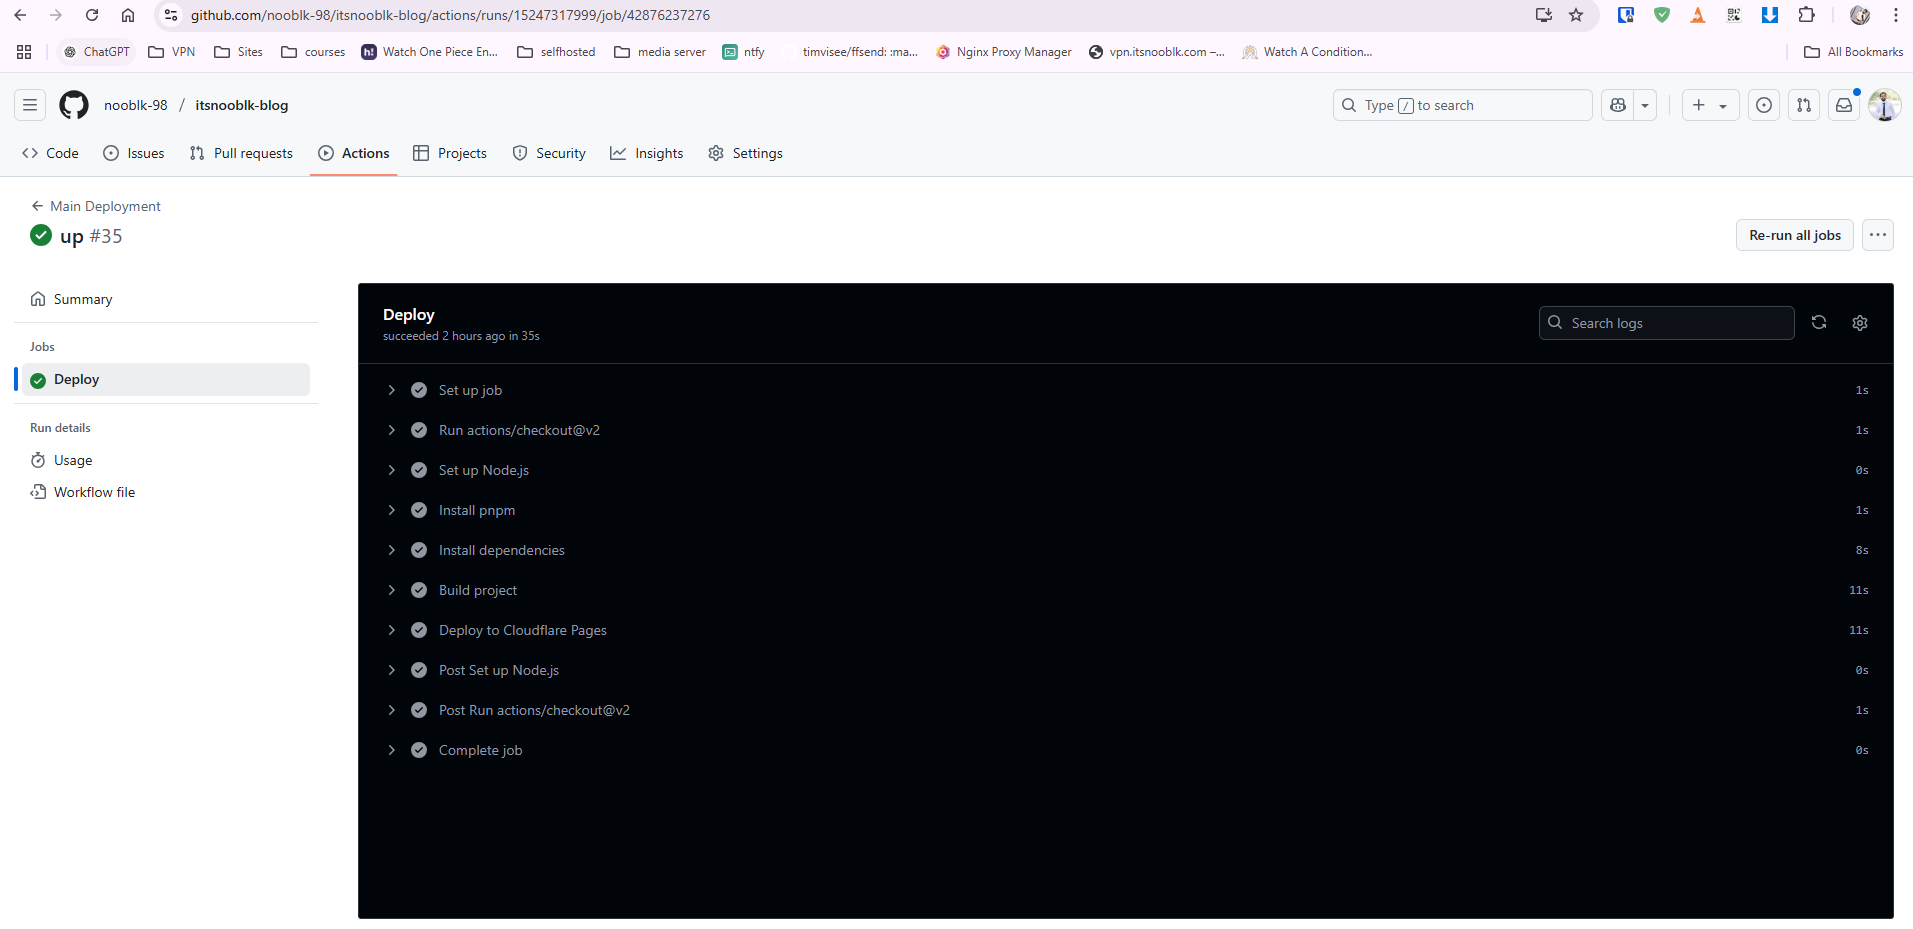
🚀 Step 9: Deploy Automatically on Push
Push your code to trigger the deployment:
git add .
git commit -m "Initial commit"
git push origin main
Track your deployment workflow here:
👉 https://github.com/<your-username>/<repo>/actions
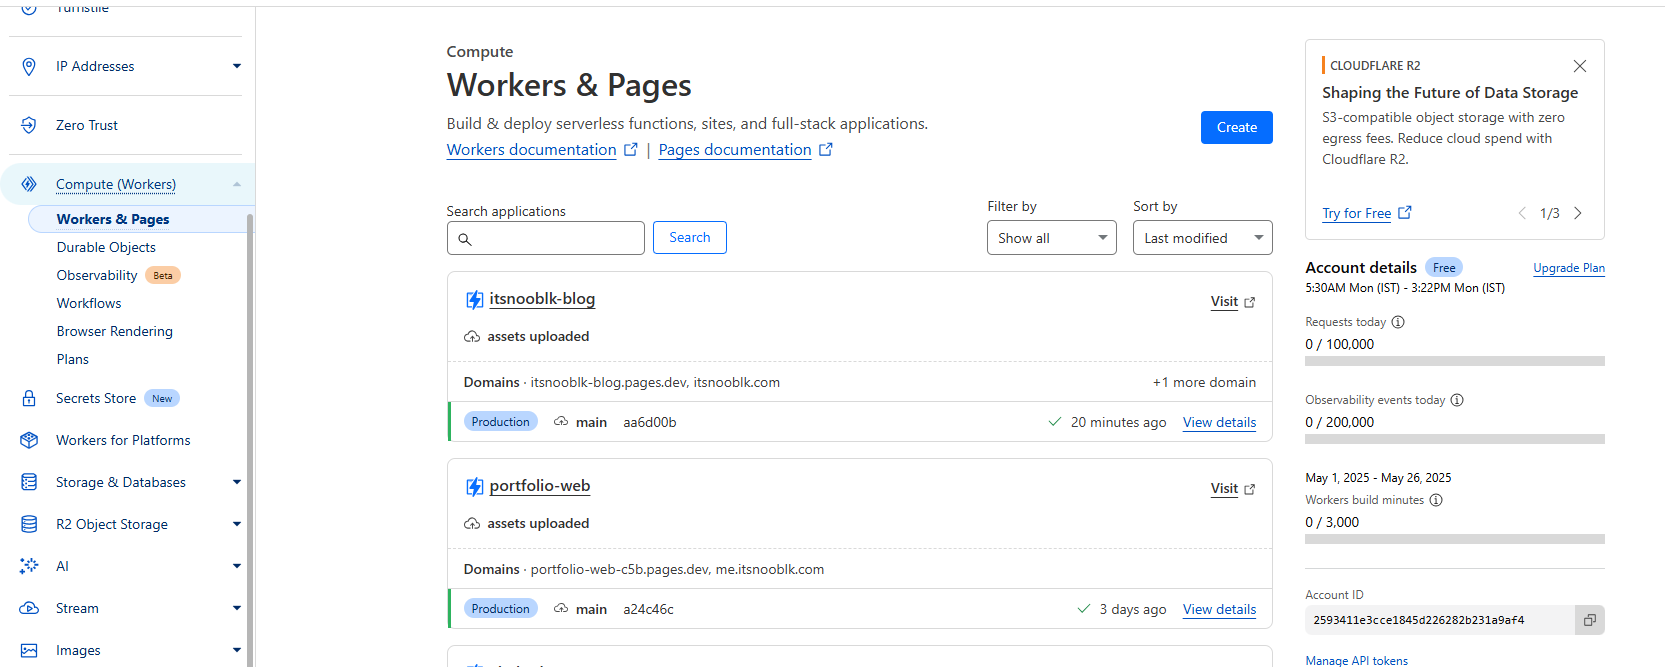
✅ Step 10: View the Live Site
Visit your Cloudflare Pages dashboard:
👉 https://dash.cloudflare.com/<account-id>/pages/view/<project-name>
Your site will be hosted on a .pages.dev subdomain by default.
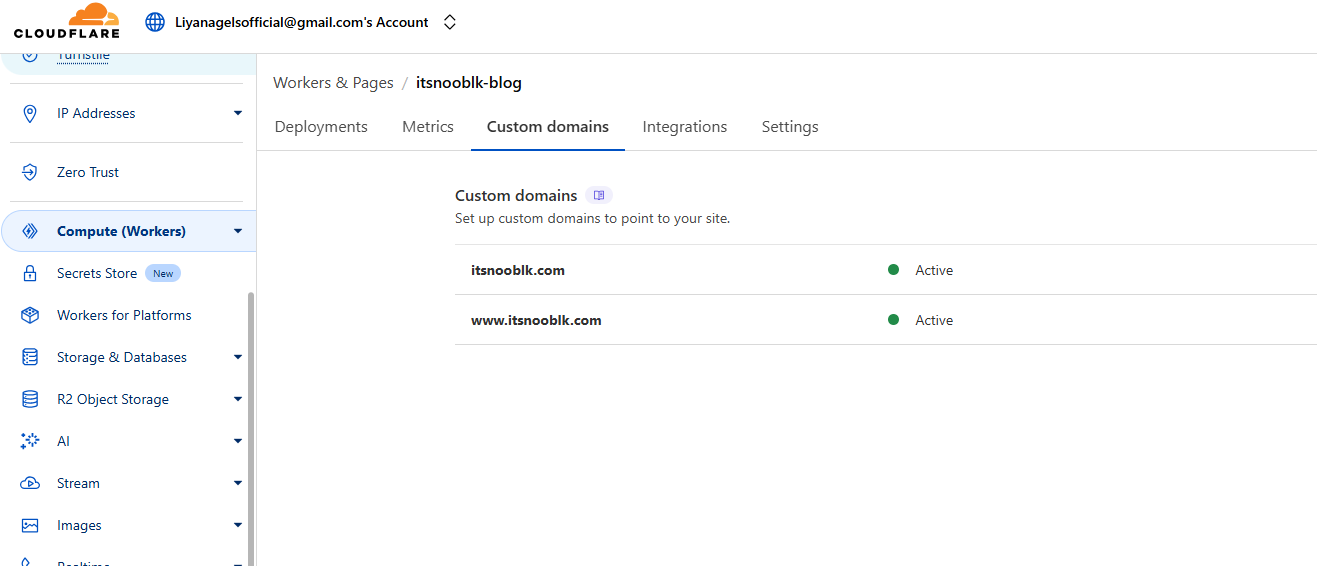
To connect a custom domain:
- Go to the Custom Domains tab
- Add and verify your domain